Happy (almost) Hearts Day! My valentine this year is a little black dog name Zeuggie. I'm pretty sure he is going to get me something small and sparkly tomorrow. Rule for all boys, men and doggies out there - you can never go wrong with small and sparkly for your valentine. Wait I take that back, I'd rather have a new flash for my camera or a new pair of ski boots.
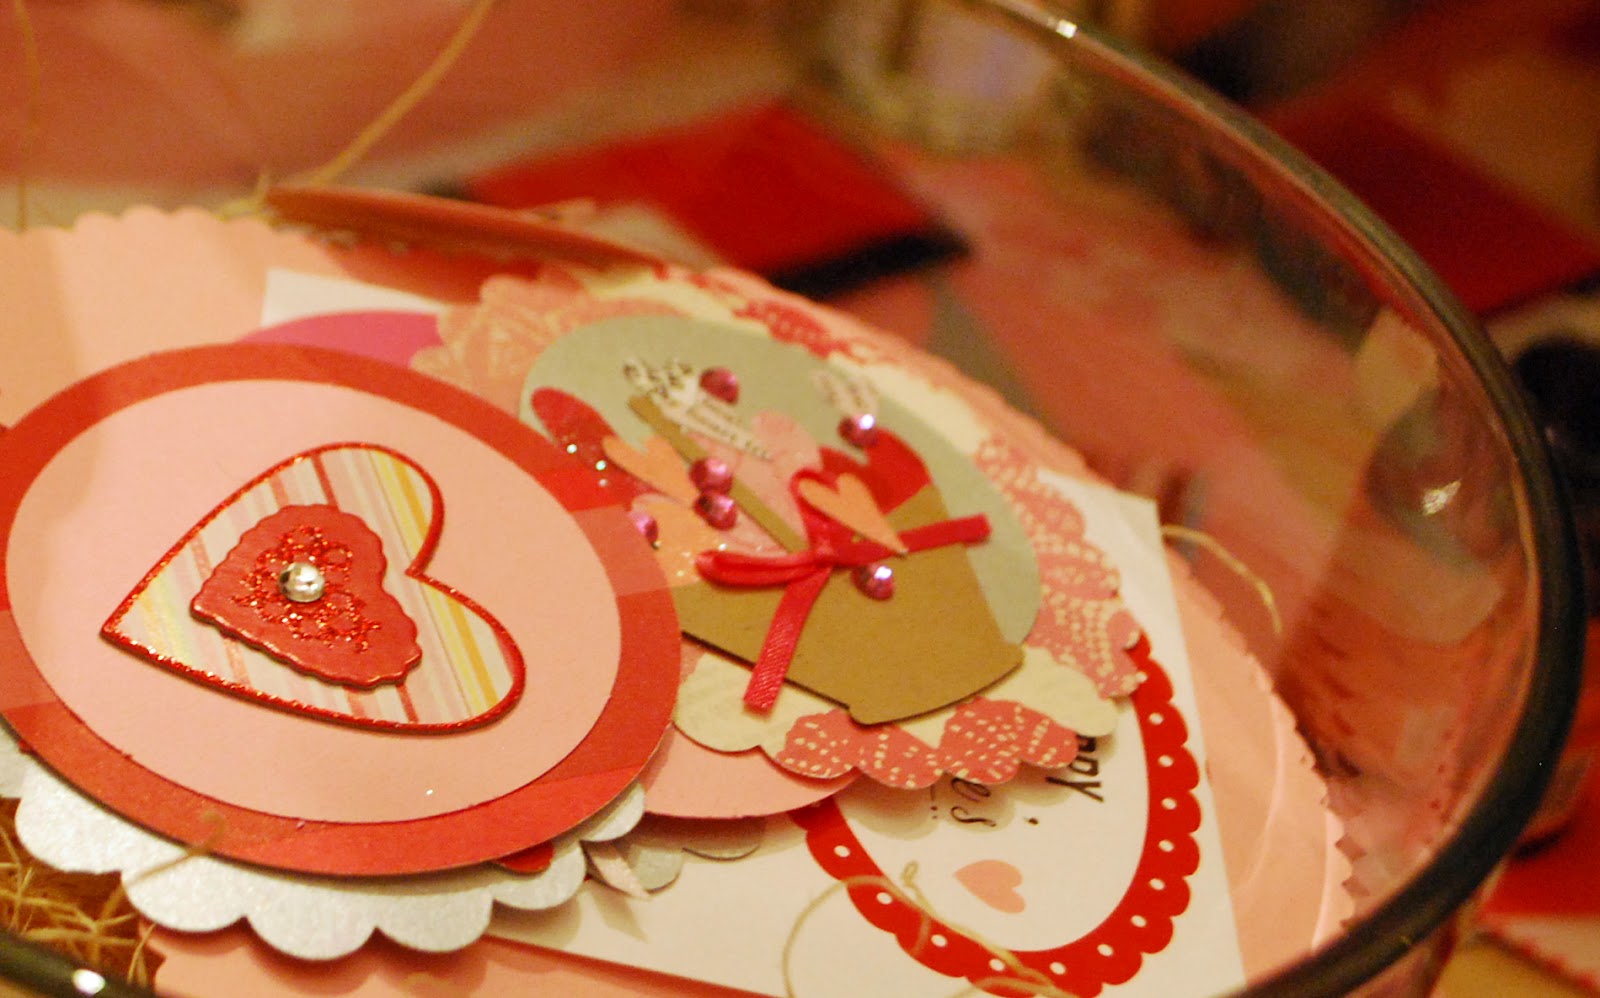
Since most girls love pink, hearts, sparkles and bubbles, I hosted group yesterday for a little crafting and champagne. Ribbons, stamps, fun papers and glitter provided the activity and was an outlet for everyone to express there one "Tarte and Parcel-esque" creativity.
The menu was equally whimsical. Based on the theme: "Love is sweet and a little savory" snacks included:
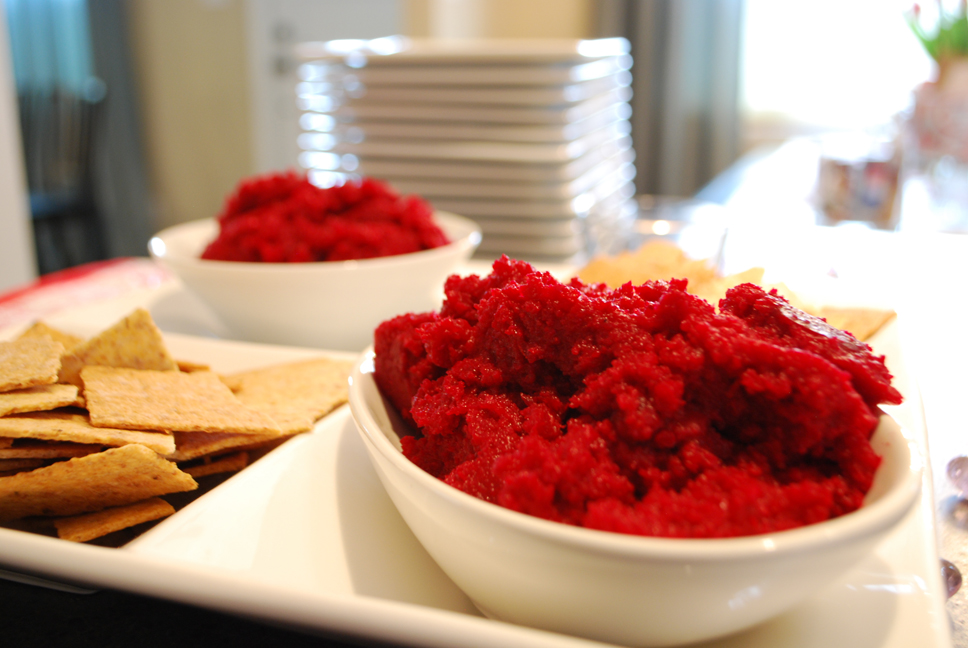
* My Heart "Beets" for You Hummus
* Shot of Love Shrimp
* Apple of My Eye Ravioli
* Be(ef) Tender to my Loins Bruchetta
* Making Whoopie Pies
* Cupid Cakes
My favorite of the bunch was the"Shot of Love Shrimp" inspired from a Bloody Mary. Here are the instructions!
Shot of Love Shrimp
* Ingredients *
1 lb cooked prawns
1/2 lb cherry tomatoes
1 14 oz can of tomato sauce
1 cup Absolut Pepper Vodka
3 tablespoons Tabasco
1 tablespoon black pepper
1 tablespoon red pepper flakes
Pepperoncinis
Celery
Coronichons (I love mini pickles!)
* Instructions *
1. Marinate shrimp and cherry tomatoes in next 5 ingredients overnight.
2. Alternate shrimp and tomatoes on skewers with celery, pepperoncinis and coronichons.
As an aside, the marathon is at long last finally a commitment. I am running the San Diego Rock and Roll Marathon in June. To help with the training I have joined, Team in In Training and raising money for cancer research. If you have a need for dessert or apps for your next shower, luncheon, dinner or party I would be happy to exchange any culinary skills for a donation. Fight cancer and eat well... I'd say it's a double win. :)
Showing posts with label Crafts. Show all posts
Monday, February 13, 2012
Sunday, June 26, 2011
Fascinated by Fascinators
Since the marriage of Will and Kate, fascinators have become the newest "fashion must" and god knows, I love a good hat. When I cracked my head open last year and got 40 some odd stitches in my forehead (yep, I've crossed ambulance ride and hearing the echo of your exposed skull off the bucket list), I started a collection of newsboys and fedoras since *something* needed to cover-up the bandages.
Sidebar: At that time, I was informed that men don't like hats. WTF men. Hats are hot.
Unfortunately, in Seattle, we are not known for our fashion forwardness. Well, unless you count the grunge movement and who can really count flannels from Value Village as haute couture? Since we are a little behind the times out here, I had to pick a day of costumes to debut my fascinator creation. Let's just say it was Mrs. Peacock in her fascinator in the Lounge with the revolver.
A good fascinator is made of silk, beads, feathers and a little sparkle. I picked a mixture of peacock, black coque and aqua ostrich feathers. For a extra bit of elegance, I added a black veil and finished the piece off with a vintage rhinestone button. I secured the piece with a few bobby pins, but it could have easily been attached to a comb or small headband.
The hat was a hit. I was invited to make a 2 ladies wedding veils. Of course, theses gals had drunk a margarita or four. My second career as a haberdasher may not take off quite so soon.
Sunday, April 10, 2011
The Egg and I
My first play in high school was called "The Egg and I." I played Joanie - the boy-crazy younger sister of a family that moves to an egg farm on Olympic Peninsula in Washington. Recently, on a way home from a great visit to Port Townsend, I saw that there is even a road called "Egg and I Lane" off of Highway 20. It made me smile and brought back a memory or two.
My role as Joanie led to an illustrious high school drama career as a character actor. I never played a leading lady - just the odd ball, goof with a funny accent stage left. When I was a awarded "most dramatic" of my senior class, I was shocked. First of all, I didn't think that anyone knew my name in high school. Secondly, should an award really go to a girl with ripped jean shorts, 16-eye Doc Martens and a slight shade of violet in her hair?
Although I have grown up a bit now, I still appreciate the brilliant, lovely egg. No better time to celebrate the egg than Easter. The Easter egg represents the renewal and abundance that spring brings. For my celebration of eggs, I adapted 3 ideas from one of my faves - Martha. Often, making a idea your own sometimes can be as gratifying as the original idea.
My goal for this craft was to end up with decoration for a centerpiece or something a little larger for my sideboard. The foundation of my idea stated with The Willow Tree. I used an ice bucket as a vase. Floral foam held the willow branches purchased from my local market.
Eggs Adorned with Paper Cut-Outs and Marbleized Eggs created the ornaments. I chose a blue and white theme to match the colors of my living room. I used white paper cut-out flowers decorated with fine prism glitter for the solid eggs.
While the instructions for each of these crafts are on the MS website, I can provide you some tips and tricks that I learned along the way...
1) Get an egg blower. I don't know anyone that has enough lung capacity to empty 24 eggs. An egg blower can empty one in about 30 seconds. Just be prepared for the instructions in German.
2) Marbleize eggs last. I tried to dye the solid and marbleized eggs at once. Mistake. The oil use in marbleizing gets everywhere.
3) Glue ribbon perpendicular. Like Christmas ornaments the eggs like to turn inward. Gluing the ribbon at the top of the egg perpendicular to the design you would like to showcase can help minimize this.
Happy egg-dyeing everyone!
Wednesday, December 1, 2010
Warm and Festive: Two Ways
Today is December 1st. This means two things…
Number One. It’s getting a little bit chilly outside. This is exciting for me. It means ski season is right around the corner. (For me, corner = Friday. Pretty exciting! )
Number Two. Christmas is right around the corner. Twenty-five more days of festive fun.
Since obviously today I am into enjoying the cold and being merry and I guess the number 2, I am going to share two ideas that will both keep you cozy and celebrate the best Christmas color: green. (Sorry red… you are just way too played out, too close to Coug crimson in Apple Cup week, and green is my second favorite color anytime of the year.)
Project One: A Green Scarf
A super easy project with just a few basic stitches! Plus scarves make the perfect gifts – something fashionable and something homemade.
For those of you new to knitting, try “Learn to Knit” on About.com. Lots of good pictures. I have used it as a reference many times when getting started.
* Pattern*
With size 15 needles, CO 12.
Even Rows: K1, K2 tog, YO, K2 tog, YO, K2 tog, YO, K2 tog, YO, K2 tog, YO, K1.
Odd Rows: K1, P10, K1.
Repeat pattern for approximately 24-36 inches.
BO 12.
* Abbreviations *
CO: Cast On
K: Knit
P: Purl
YO: Yarn Over
K2 tog: Knit 2 together
BO: Bind off
Project Two: Spicy Green Chili with White Beans and Turkey
* Ingredients *
2 tablespoon olive oil
1 pound spicy turkey sausage, casings removed
3 cups chopped onions
4 large garlic cloves, chopped
2 pounds turkey cutlets, cubed
2 cups chicken broth
2 tablespoons chili powder
1 cup drained canned diced tomatoes
1 14.5 oz can, white beans, rinsed and drained, mashed
2 14.5 oz can, white beans, rinsed and drained
1 can green enchilada sauce
2 tablespoons lime juice
2 tablespoons chili flakes
* Instructions *
1. Heat oil in large stock pot. Brown sausage, breaking with wooden spoon. Add onions and garlic. Cook for 5 min.
2. Season turkey cutlets with salt and pepper. Add to pot. Sauté for 5-10 minutes. Add remaining ingredients.
3. Simmer on medium-low for 45 minutes.
4. Serve with shredded Monterrey Jack cheese and chopped cilantro. If it’s a little spicy for ya, add a dollop of sour cream. If this is too much food for you, do what I did - freeze it. Frozen soups can easily be de-thawed for a yummy homemade lunch.
Subscribe to:
Posts (Atom)


